  |
|
|
 |
Current CCL Version as of posting: 2.1.0.113 Last modified: Jan 26, 2002 Please note that Leapbeyond Solutions Inc. shall not be held liable for damages resulting from any misinformation or omissions in this document.
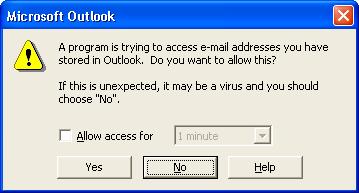
Contact Communications Logging can be used with Office XP, but there are some security restrictions in XP that you'll need to reconfigure. When the CCL code executes, you may be prompted with the following security dialog:
Clicking Yes will allow the CCL add-in to operate properly, but you'll have to do this every time you send an email (or every 10 minutes, if you click the Allow Access checkbox). This document describes how to mark the CCL add-in as trusted, so that you are no longer harassed with the above dialog. Note that the instructions below affect security settings only for the CCL add-in, and not the rest of Outlook or Office. This document is based on a Microsoft Knowledge Base article located at: http://msdn.microsoft.com/library/default.asp?url=/library/en-us/xpreskit/html/outg03.asp.
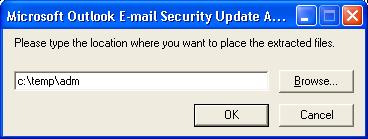
STEP 1: Install the Security Features Administrative Package The first thing you'll have to do is install the Security Features
Administrative Package. It's available online from Microsoft at:
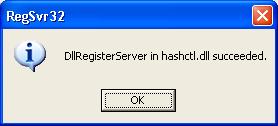
STEP 2: Install the Trusted Code control You'll have to perform this step while logged on as an administrator. Copy the hashctl.dll and comdlg32.ocx files from the directory specified in Step 1 to the c:\winnt\system32 directory on your computer. Note that you may already have the comdlg32.ocx file in that directory, and in that case will not need to overwrite it. Now from your Start menu, choose Run and type the following command: If you had to copy the comdlg32.ocx file, repeat this action using the following command: regsvr32 comdlg32.ocx After each command, you should see a dialog like this:
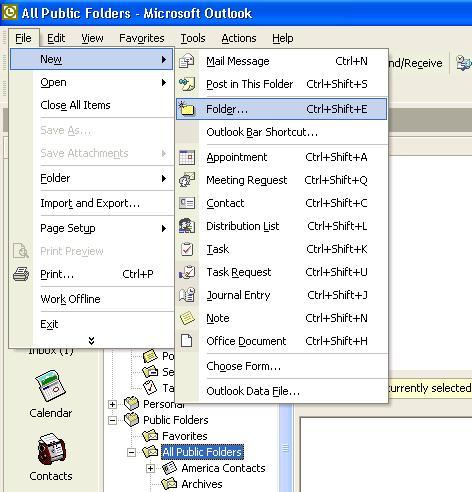
STEP 3: Create a Security Settings folder The goal here is to let each Outlook workstation know that the CCL add-in is trusted. In order to do this, you'll need to create a new public folder where the security settings for your organization are saved. Every time an Outlook station runs, it will check this folder and update its security parameters accordingly. This folder must have the exact name: Outlook Security Settings You create the folder by opening Outlook, right-clicking on the All Public Folders folder, and selecting New Folder. (show me 1, show me 2) (If you can't see the All Public Folders folder, select View | Folder List from the Outlook menu bar.) You'll need to set the access control list for the folder so that ALL users in your organization can read all items in the folder. To do this, right-click the Outlook Security Settings folder you created, and click Properties. Then go to the permissions tab and make the appropriate changes. The only people who should have access to create, edit or write to the directory are those who are allowed to change your company's security policies.
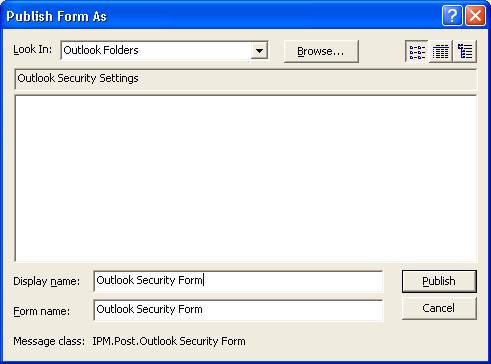
STEP 4: Install the Security Template The Outlook Security Template is the tool you will use to set up your security options. In order to use this tool, you must first publish it as a form to the Outlook Security Settings folder. Double-click the OutlookSecurity.oft file in the directory you specified in Step 1. You'll be asked to select a folder; select the Outlook Security Settings folder you created in Step 3. You'll now be presented with the form which is opened in compose mode. We need to publish this form. To do this, select Tools | Forms | Publish Form. Ensure you are in the Outlook Security Settings folder, and in the Display Name box type Outlook Security Form. The same name should be in the Form Name box. Note: If you are currently using the security form from the e-mail security patch, then in the Form Name box be sure to type the same name as the previous security form (i.e. overwrite the previous security form).
Click the Publish button to continue. You can now close the template window (Titled "Default Security Settings - Discussion"), being sure NOT to save when asked.
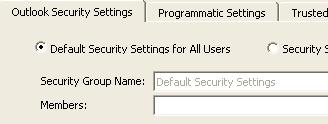
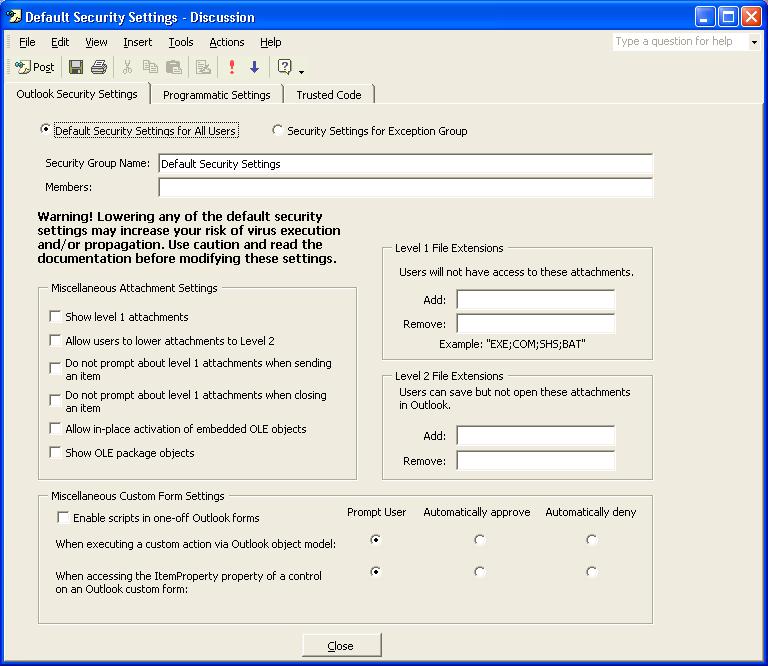
STEP 5: Create the Default Security Settings item You define security rules by creating new items in your Outlook Security Settings folder, using the Outlook Security form you set up in the previous step. Go to the Outlook Security Settings folder and choose File | New | Choose Form.... Under Look In, again select the Outlook Security Settings folder and select Outlook Security Form and click Open. You can now set security options. Under the Outlook Security Settings tab, ensure that Default Security Settings for All Users is selected (see below).
Next, go to the Trusted Code tab. Click Add, and browse for the CCLCommon.dll file in your C:\Program Files\Contact Communications Logging directory. This will specify that the Contact Communications Logging add-in should be allowed to execute without hitting the security block that causes the "Allow Access?" messages. Note that if you later install a new version of CCL, you may have to remove and re-add the CCLCommon.dll file to the list of trusted add-ins. When finished, click the Close button at the bottom of the form and specify Yes when you are prompted to save changes.
STEP 6: Force Outlook workstations to use your security settings If Office was deployed with system policies in your organization, then you are finished and can skip this step. Otherwise (as is the case with most of our clients), you'll need to set up all of the Outlook workstations to go looking for your security policy. To do this, you'll need to create a registry key for each user under the following branch: HKEY_CURRENT_USER\Software\Policies\Microsoft\Security Note that you may have to create the "Security" branch. The key is of type DWORD, is named CheckAdminSettings, and should be set to a value of 1. Microsoft describes a way to automatically distribute this key using logon scripting, but it's probably easiest to simply create the key, export it to a registry file, and then re-import that file on all workstations.
CONCLUSION Once the steps in this document are taken, users should no longer experience the "Allow Access?" dialog when sending email while using Contact Communications Logging. If the outlined procedure seems exceedingly complicated, or you'd simply prefer, a Leapbeyond Solutions representative may be able to log in remotely to your server (via Terminal Services, pcAnywhere, or VNC) and assist you in getting it set up. Ask about our current remote support rates. As always, feel free to email sales@leapbeyond.com for assistance with any aspect of our Contact Communications Logging product.
ADDENDUM If you have successfully completed the steps in this article, but at some point in the future the CCL add-in disappears, then please see our article, BUG: The CCL add-in disappears when marked as "trusted" under Outlook 2002 for a workaround.
|
||
